
INSTALLATION & ADJUSTMENT
Seven door closer installation mistakes and how to avoid them
A closer fitted to the wrong fixing, on the wrong side, or set to the wrong force will fail long before its cycle rating says it should.
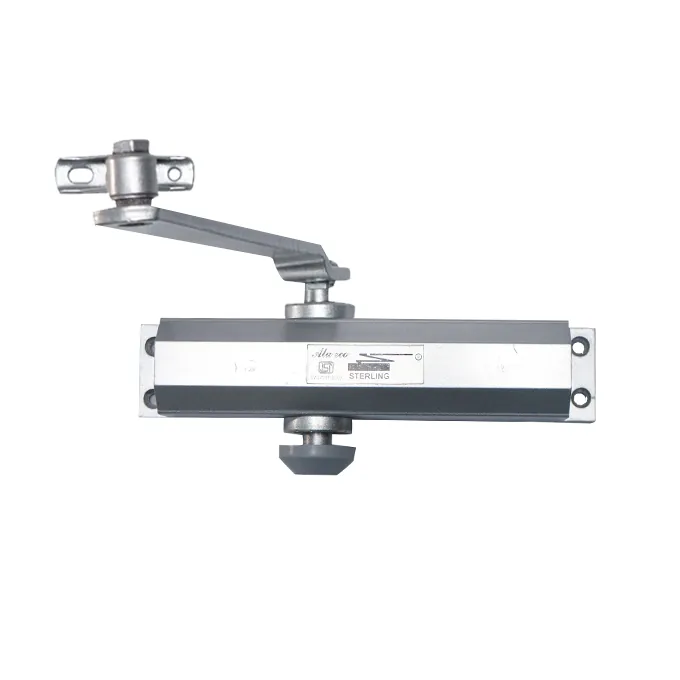
A door closer is a simple device fitted under load, which is an unforgiving combination. Most units that fail well short of their cycle rating were installed in a way that guaranteed it. These are the errors worth checking for.
1. Fixing into a hollow core
The single most common cause of premature failure. A closer body and arm pull hard against their fixings every time the door moves, and screws driven into the thin facing of a hollow-core leaf have almost nothing to hold. The fixings work loose, the holes enlarge, and eventually the closer tears out, often taking a patch of the door face with it.
Hollow-core leaves need a solid timber insert or a through-fixed backing plate behind the closer. If neither is possible, the door is not suitable for a surface closer at all.
2. Ignoring the template
Every closer ships with a drilling template, and it encodes the geometry the mechanism was designed around: the distance from the hinge line, the height on the leaf, the arm's reach. Positioning the body by eye, or reusing the holes from a different model, changes the leverage the closer works through.
The result is a door that needs more force to open than it should, or one that loses control at some point in the swing, and the mechanism is loaded outside its intended range for its whole life.
3. Mounting on the wrong side of the door
The closer body normally goes on the pull side of the leaf, with the arm reaching to the frame, though many models support frame mounting instead. What matters is choosing an arrangement the model actually supports and matching it to how the door swings.
Sterling's surface-mounted range uses universal mounting for left and right hand doors and suits both on-door and on-frame installation, so the choice is usually about clearance rather than handing, but it is still a decision to make deliberately rather than discover afterwards.
4. Setting the arm at the wrong angle
The arm assembly has to be set so the linkage sits square when the door is closed. If it is installed pre-loaded at the wrong angle, or the two halves are connected at the wrong point in their adjustment, the closing force is wrong throughout the swing and the linkage carries a side load it was never meant to.
On models where closing force is adjusted by preloading the arm, the concealed DC 2800 adjusts across EN 2-4 this way, getting this right is the adjustment, not an afterthought.
5. Over-tightening the fixings
A closer fixed too tight into a timber leaf crushes the fibres around the screw, and the fixing is looser a month later than it was on the day. Fixings should be firm, seated and checked again after the door has been in use for a few weeks.
6. Backing a speed valve all the way out
The closing and latching speed valves meter hydraulic fluid, and they are seals as much as they are adjusters. Unscrewing one past the end of its travel lets the oil out, and a closer that has lost fluid cannot be refilled on site. It goes from controlled to free-swinging, which on a heavy leaf is a safety problem.
Adjust in eighth turns, and if a valve reaches the end of its useful range without fixing the behaviour, the problem is the power size or the door, not the valve.
7. Leaving it at the factory setting
A closer straight out of the box is not commissioned. It needs the closing speed set for a controlled sweep, the latching speed set fast enough to throw the latch, and the opening force brought down to the lowest setting that still latches the door reliably every time.
Check the latch from a small opening, about 15 degrees, rather than from wide open. A door carries enough momentum from a full swing to disguise a closer that will not actually latch in everyday use.
Worth doing at handover
Walk each door once after installation: open it fully and release, then open it a few degrees and release. Confirm it latches both times, confirm the opening force is comfortable for the people who will use the door, and check the fixings again a few weeks later. That short routine catches nearly everything on this list while it is still free to fix.